
Single Card Enrollment — API Reference
Introduction
Customers with personal cards or business cards can add their cards individually. Cardholders are required to complete a verification process to ensure they are the owner of the card when they link it.
Enrollment is done with Astrada's pre-built Card Enrollment SDK — see Get the SDK and Installation. This page is a conceptual walkthrough of what the SDK does on your behalf when a cardholder links a single card.
You do not make these API calls yourselfThe SDK performs every step described below for you. A standard integration is just:
embed the SDK → handleonSuccess/onError.
This page explains the flow conceptually — it isn't the field-by-field request/response contract.
That contract is maintained separately for Astrada's approved direct-API partners; talk to your
Astrada contact if you have direct-API access and need it.
The enrollment flow (under the hood)
1. Customer Introduction
The first stage we recommend in any card enrollment journey is to clearly outline to your customers the scope of the data sharing they are about to consent to and any important information about how their data will be used.
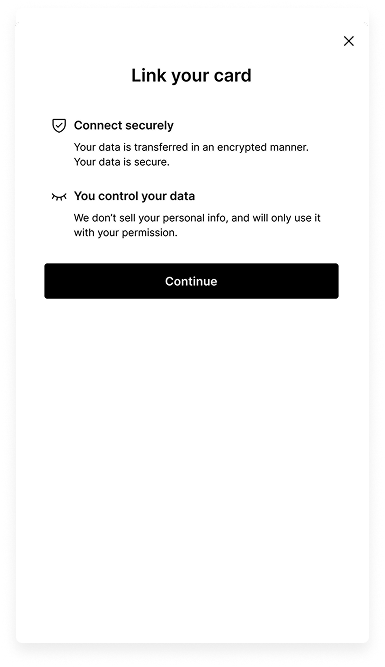
This step improves user conversion by providing a feeling of trust and security.
2. Card Data Collection
The second stage of the card linking journey requires the collection of card data and consent. It is at this stage that a user provides you with their sensitive data and opts into the terms of the data sharing arrangement explicitly.
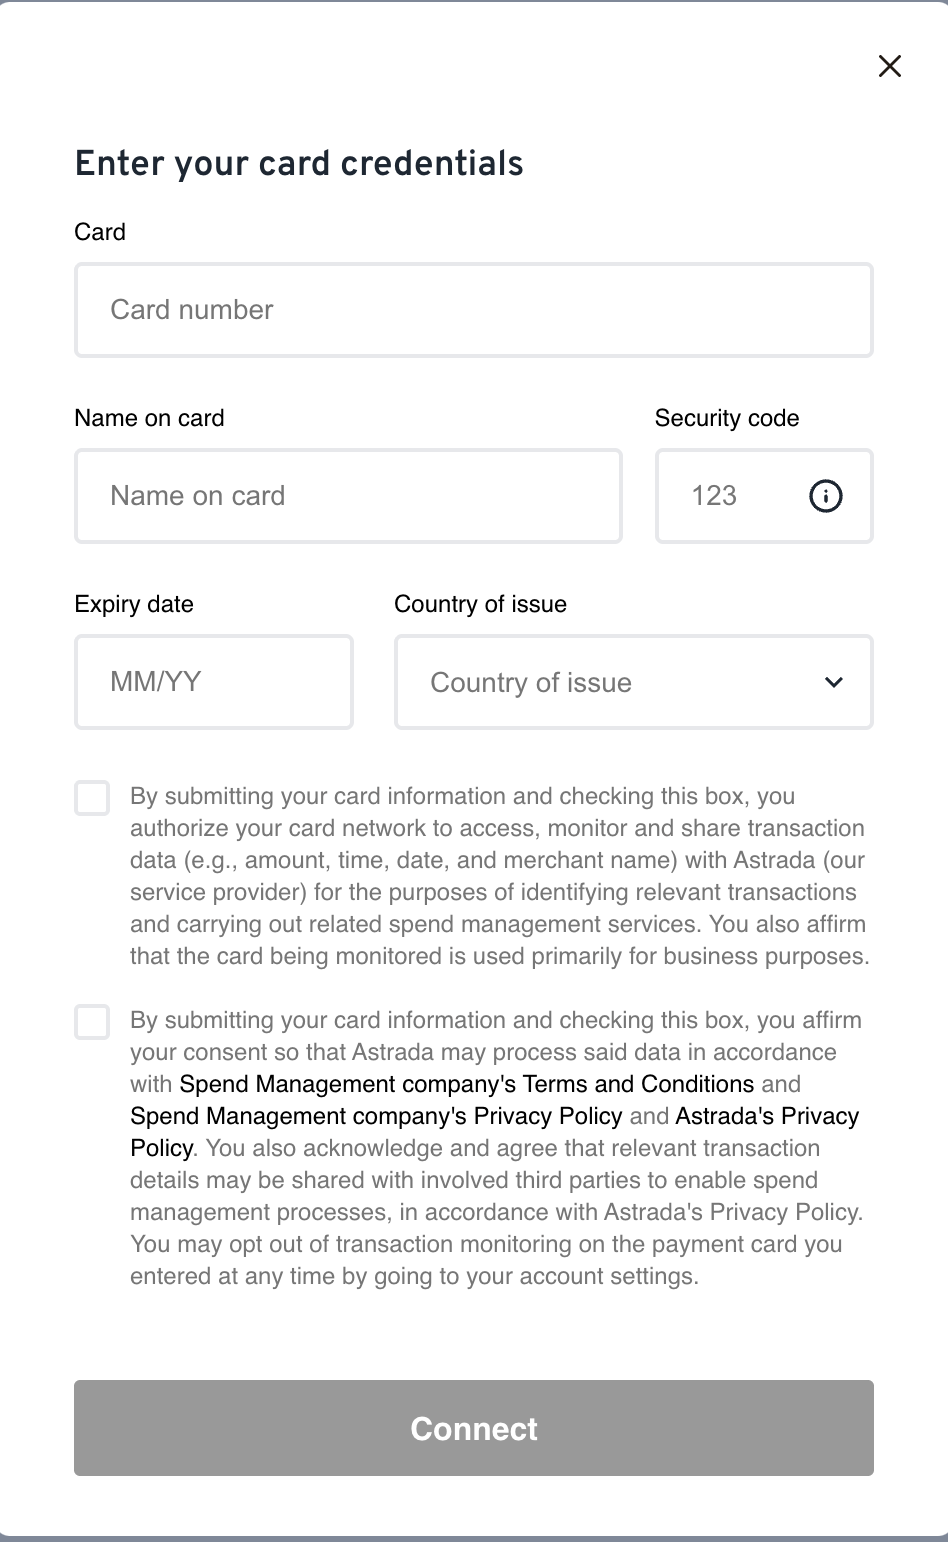
The SDK starts the card enrollment process the moment the cardholder submits this form. If a subscription for the same card already exists on the subaccount, the SDK treats that as a non-fatal "already enrolled" signal and continues with the existing subscription's state rather than erroring.
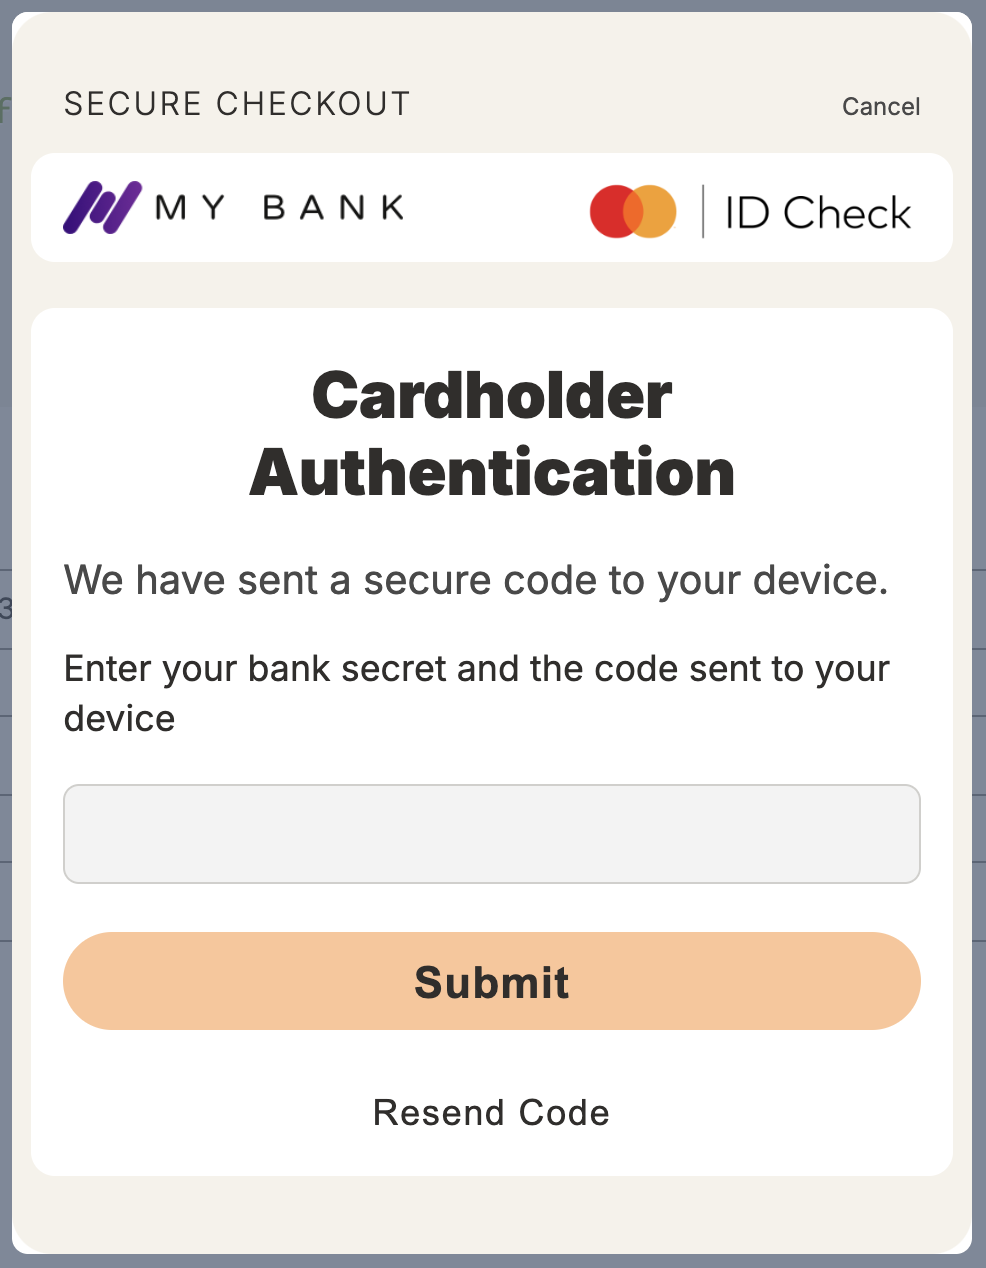
3. Start card verification
As mentioned here, this is the expected 3DS card verification flow:
- Device fingerprint is collected;
- Device fingerprint is transmitted to the issuer's Access Control System (ACS);
- Depending on issuer response a (3DS) challenge is required:
- If the fingerprint is determined to be low risk, the challenge step is skipped. (Risk assessment factors here.)
- If the fingerprint is approved but higher risk, the challenge is initiated.
- If verification fails, it's usually due to a lost/stolen card, an inactive card, or a card otherwise unable to transact — see Triage a failed verification.
Every card subscription created through Single Card Enrollment is subject to cardholder verification, so the SDK immediately follows up with the call to start it.
Choosing how strict verification isNew to enrollment? Start with Quick Start: Card Enrollment for the
end-to-end flow. The verification experience above depends on the subaccount's risk tier. See
Verification Risk Tiers to pick a tier, HIGHEST Verification
for the strictest two-hold flow, Test Cards & Sandbox Testing to test each tier,
and Error States & Remediation for every failure path.
If a challenge is required, it runs inside an iframe hosted and controlled by the card verification provider — the SDK renders it for you. The token-based challenge is typically delivered to the cardholder as a push notification on their issuer's banking app, or a text message.
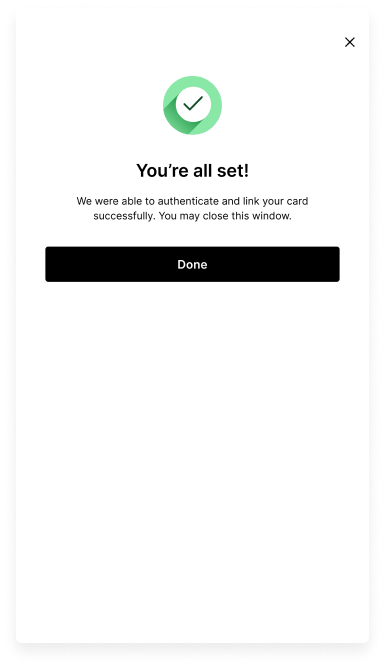
4. Success & Completion
Once the cardholder has successfully completed verification, the SDK's onSuccess callback fires and the card is enrolled.
Errors
Every failure surfaces through the SDK's onError callback with a structured, branchable code. The full catalog of error codes, the cardholder-facing screen for each, and how to remediate them is in Error States & Remediation.
Consent
What is Cardholder Consent?
Cardholder consent refers to the approval a cardholder gives to allow their transaction data to be accessed and used by third parties like Astrada. This consent is essential for complying with card network requirements and ensuring data security.
Why We Collect Consent
Contractual Requirement from Card Networks
Card networks mandate obtaining cardholder consent to ensure that their transaction data is shared responsibly and ethically.
Through Astrada's APIs and SDK, cardholders can opt in and authorize the sharing of their data. This opt-in process is crucial for Astrada and our customers to access such data legitimately.
Data Security and Best Practices
Collecting consent ensures that sensitive cardholder data is not accessed or shared inappropriately, adhering to stringent data security standards.
How We Collect Consent
Astrada initiates the consent collection process when a customer enrolls a card for the first time.
Consent is gathered through a clear and conspicuous request, ensuring the cardholder is fully informed and has the freedom to either consent or refuse. The request will explain the purpose of data collection and the specifics of how data will be used.
We use consent language approved by card networks to ensure uniformity and compliance (see Installation). This language is integrated into our card enrollment SDK by default.
Cardholders must agree to Network-specific and Astrada-specific terms separately, ensuring clarity and compliance with privacy laws.
Upon receiving affirmative opt-in consent, Astrada verifies the identity of the cardholder to ensure the consent is valid and associated with the correct individual.
We maintain detailed records of consents, including date and time stamps, to comply with legal requirements and for audit purposes.
By integrating with Astrada, our customers ensure that all data is fully compliant with both legal and network requirements.